Tileable textures are the quiet workhorses of games and interactive media. They keep worlds lightweight, they scale to any surface, and they let artists move fast without visual seams calling attention to themselves.
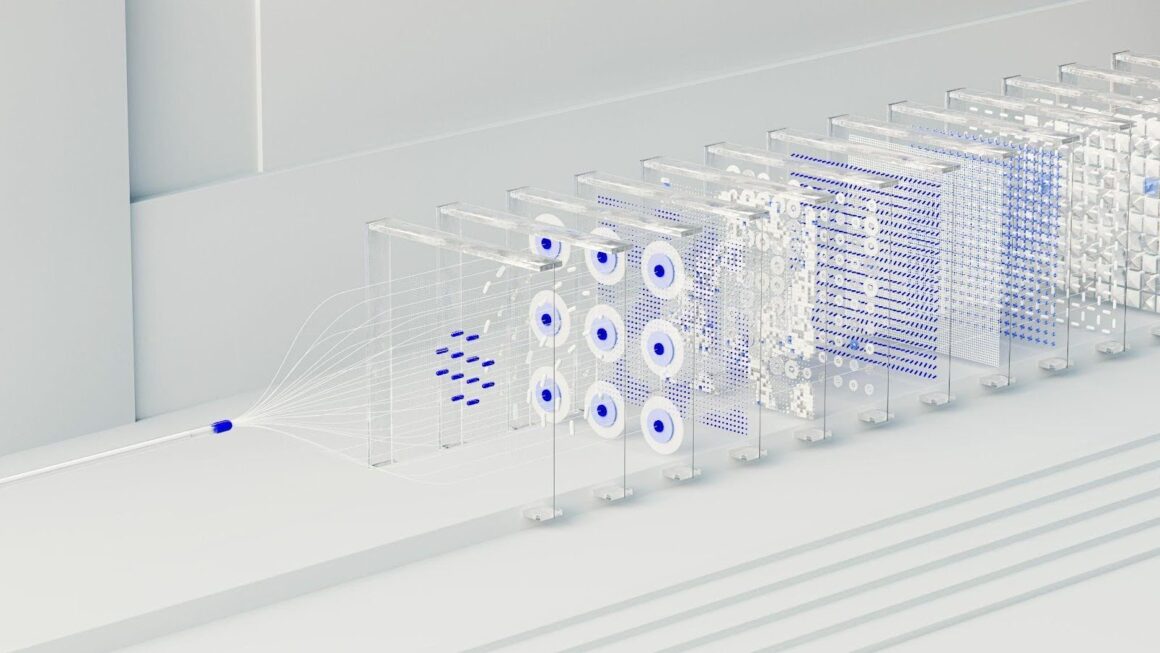
Machine learning speeds up the boring bits, but quality still comes from a simple repeatable workflow. Start with clean inputs, control the model, check edges ruthlessly, then export in a format your engine loves.
Follow these steps, and your materials will tile smoothly across floors, fabrics, foliage, and UI motifs.
Begin With Clear Intent And Clean Inputs
Decide what the pattern needs to do before you generate anything. A terrazzo floor for a first-person hallway needs tight scale, muted contrast, and uniform lighting so tiles do not flicker.
A sci-fi fabric for a third-person outfit can handle stronger contrast and a hint of direction. Collect two or three high-quality references that match the brief, then remove heavy shadows and color casts so the model learns structure, not lighting.
Square sources make your life easier. Crop to 1024 or 2048 pixels, keep a neutral background, and avoid clipped highlights that will bake into albedo. If you must upscale, do it before generation so the network has room to infer detail.
Small annotated notes help, for example, “matte ceramic, 3 mm speckles, 40 percent coverage, no metallic flakes.” Pattern scale should also respect how players experience classic arcade games, where repeated motifs read clearly under motion.
Train Or Condition For Style Consistency

For studios shipping a family of materials, a small style set pays off. Gather 20 to 50 exemplars that share palette, density, and motif rules.
Label them with tags like “micro speckle,” “soft weave,” or “cracked paint,” then use these tags as conditioning prompts.
This lets you iterate quickly while staying on brand. Many teams jumpstart the process with seamless texture AI to produce tileable bases, then refine with their own rules for scale and roughness.
Keep prompts factual and measurable. Say “hex cells 6 to 8 pixels wide, 10 percent variance,” not “beautiful honeycomb.” Save your best completions as exemplars and reuse them as few-shot guides.
The goal is to teach a small vocabulary of shapes and spacing, so results feel like siblings, not cousins.
Get The Tile Right Before You Add Flair
A texture is seamless when left meets right and top meets bottom without a visible transition.
Start by enabling wrap preview and panning across the edges at 200 percent zoom. If a seam shows, fix it now with offset, clone, and inpaint tools before you invest in normal or roughness work.
Slightly blur the very edge pixels to hide hard transitions, then restore crispness with local sharpening away from the borders.
Check density and repetition. Humans spot grids quickly, so jitter elements a little, vary sizes within a narrow band, and introduce low-frequency noise that breaks perfect uniformity.
Drop the candidate on a simple plane in your engine, place a meter stick next to it, and walk the camera across at different speeds. If the pattern swims or moirés, reduce contrast or adjust texel density.
Choose Model Settings That Serve Performance
Fast diffusion with a seamless constraint is fine for props and UI. Heavier pipelines with latent upscalers help when you need 4K hero tiles.
Keep steps and guidance moderate, since overconfident models invent glitter and metal where none is needed. When you need more control, consider splitting the job into passes, such as structuring first, then coloring, followed by high-frequency details like fibers or pores.
Generate companions early. Ask the model for albedo, then derive roughness and height from a grayscale pass, not from the color layer. For gritty surfaces, keep height subtle to avoid marching artifacts when baked.
For fabrics, a gentle anisotropic hint in the normal map sells weave without inflating file size. Stability under motion matters because overly sharp micro detail can amplify PC lag on lower-end rigs.
Bake, Inspect, And Fix Artifacts Quickly
Run a four-view check, albedo, normal, roughness, and a tiled preview. In a neutral HDRI, rotate a light across the surface and look for cadence, zippering at edges, or glitter from over-sharpened normals.
If you see directional bands, lower contrast in the height map, and rebake normals at a softer strength. If edges pop under motion, reduce high-frequency detail or adjust mip bias so distant tiles downsample cleanly.
Keep a short rubric so reviews stay objective. Verify no seams, believable roughness response, stable scale in motion, and clean mips at 25 percent and 12.5 percent resolution.
Note the fix, for example, “normal intensity reduced from 8 to 5,” so later passes are reproducible. Minor, fast corrections beat one long pass that tries to fix everything at once.
Export Smart For Engines And DCCs
Match packing to your target. Many engines expect metalness in blue, roughness in green, and AO in red, so pack channels to cut memory. Stick to 2K for most surfaces, reserve 4K for hero assets viewed up close.
Test import behavior immediately. Confirm the sRGB flag on albedo, linear on data maps, correct wrap mode set to repeat, and mipmaps enabled. Set a realistic default tiling value, for example, 0.5 to 1.5 meters, so designers can drag and drop without guessing.
When a material will ship to multiple platforms, record the final settings in a simple sheet, engine version, texture sizes, compression, and default scale. Predictable exports keep your worlds sharp and your frame rates happy.